Pages

Showing posts with label rubber stamp. Show all posts

Wednesday, March 12, 2014

Sweet as Tupelo Honey and Real Dial Size


This page starts with a 12 x 12 printed image.   I used scissors to cut out the top portion of the image to focus on two main colors - the caramel bed covering and the white onesie.  Using the Cricut Artbooking cartridge, I cut a honeycomb border (see page 66) at 7 1/2" real dial size in white card stock.  Using Twilight ink, I stamped various images from CTMH  - Honeycomb, Item Number: C1537, onto some of the white honeycomb pieces and glued them onto the page. 

I used the Cricut Calligraphy cartridge to cut the word, Dallas, at 3" using the Real Dial Size feature on a caramel cardstock.  I used the shadow feature to cut the letters again in green card stock.  These were glued together and the D was covered with Liquid glass and set aside to dry before adding to the layout. 

The phase, Sweet as Honey, [from CTMH  - Honeycomb, Item Number: C1537] was stamped once in caramel then again in olive green on white card stock.  A smaller honeycomb border was cut at 3" Real Dial Size and used as a frame for the phrase.  Three golden acrylic disks were added below the phrase and a sticker of a bee was added above it.

 Watch this video to see more examples of how the Real Dial Size feature can be used with the Cricut Artbooking cartridge.

Thursday, February 20, 2014

The fox says STAMP!

February 2014 Stamp of the Month


When I drove home this evening, a red fox ran across the street in front of my car.   I braked and watched the fox skip across the snow covered lawns into the woods.  The fox sighting made me appreciate the amazing amount of wildlife in my neighborhood which sits in a major metropolitan area.  It also reminded me of the stamp set available in February for $5.00 (after a minimum purchase) through Close to My Heart.  The stamp set focuses on fox-related images and text with words of admiration.  Tomorrow, I'll post how I used the stamp set to create a quick embellishment for a card or scrapbook page.

https://cdn.closetomyheart.com/2014/image-gallery/1402-sotm.jpg  


Saturday, April 7, 2012

Chartreuse Shoes

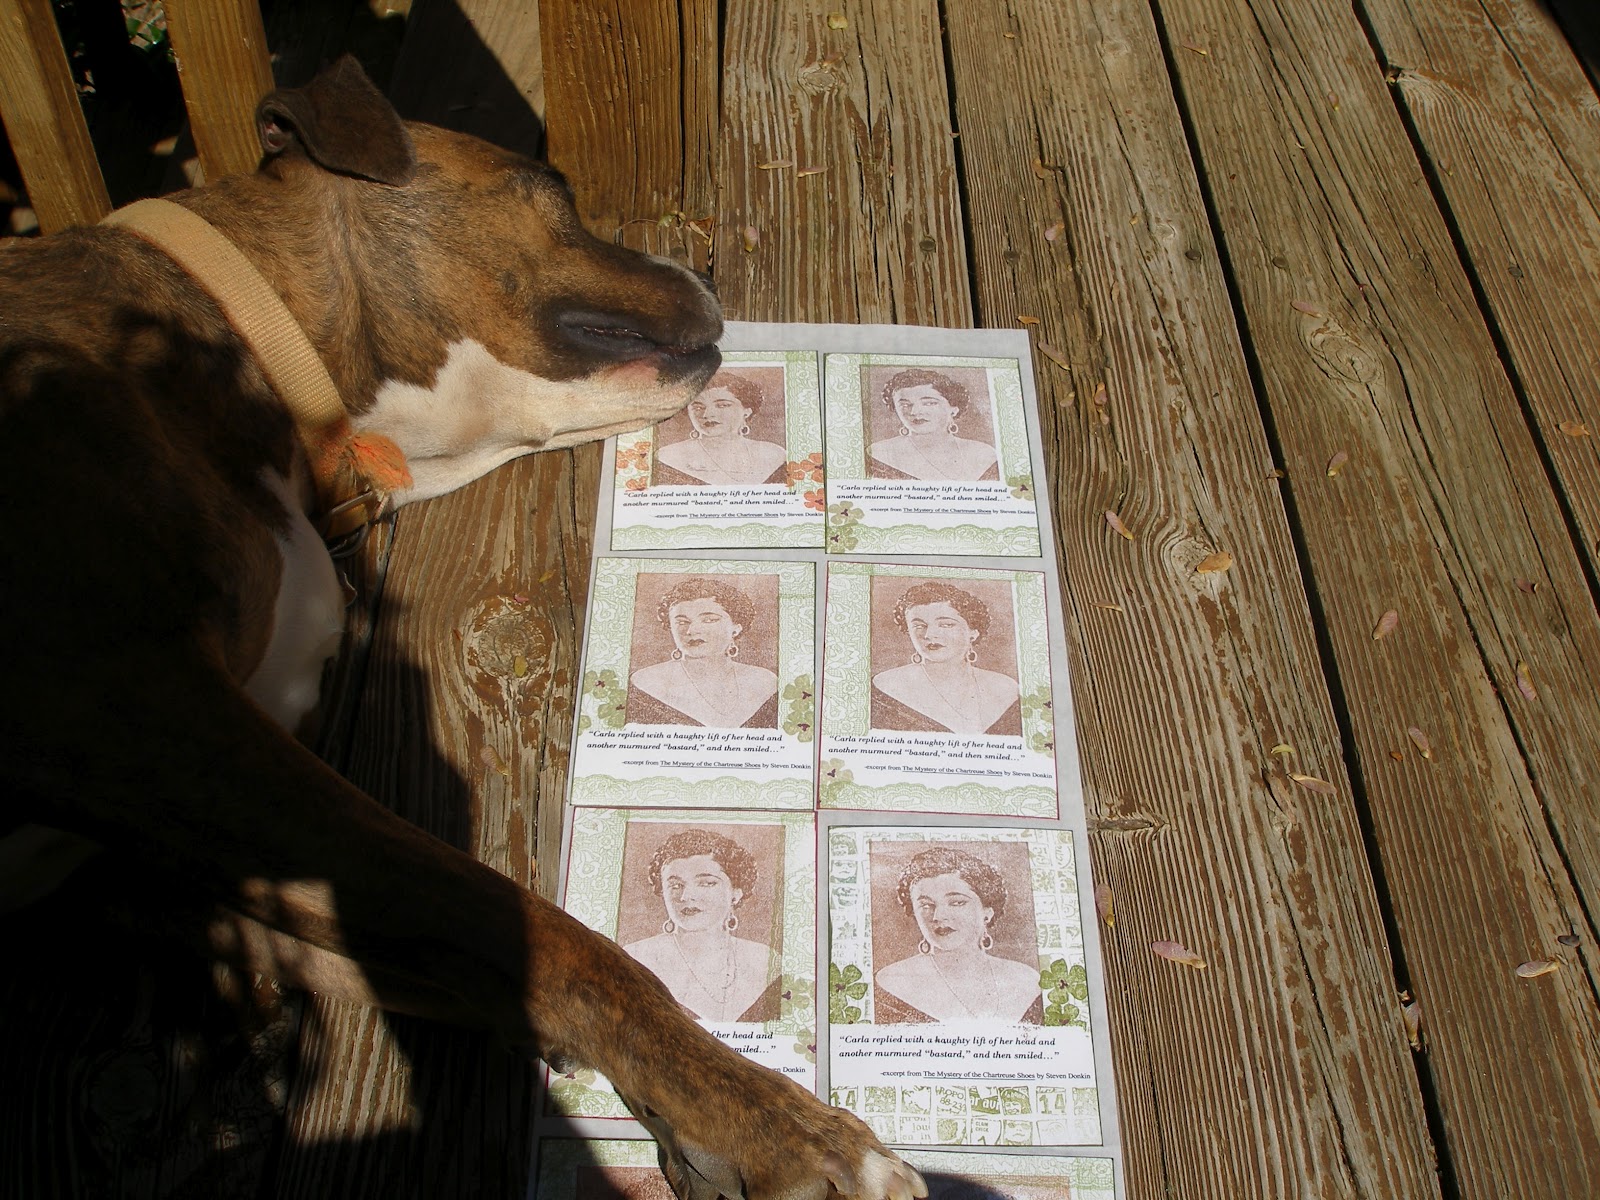
While reading Steve's latest short story, The Mystery of the Chartreuse Shoes, his description of an exchange during a dinner party conjured an image which I've tried to capture in a postcard for this month's postcard exchange (PCX). 

For the PCX, I'm working on a series of cards featuring portraits accompanied by a quote. For this one I used an unmounted rubber stamp image ["The Look" by The Stampsmith] and a sentence fragment from Steve's story: "...Carla replied with a haughty lift of her head and another murmured "bastard," and then smiled..."


I started with a MSWord document with this sentence fragment repeated four times on the page with sufficient spacing to allow creation of four cards (5.25"x4") from a single page.  I printed the fragment on white card stock then stamped "The Look" using dye-based ink. 

I used sticky notes to cover the sentence fragment and the image then stamped a background image along the edges.  I stamped small flowers [Stampin Up] in coordinating colors in random places on the card front. Using a glitter pen, I added more color to the center of the flowers.

The card was edged with a darker color ink pen.  A stiffer piece of recycled cardboard was cut to 4"x6".  The small flowers were stamped along the top and bottom of the larger card.

The Xyron was used to place permanent adhesive completely over the back of the card fronts (I made 12 of them).  Card fronts were placed on the larger cards and I *might* spray them with sealant to prevent smearing or marring during transport by mail.