The image has glare from the flash. Please let me know what to add.
Thanks
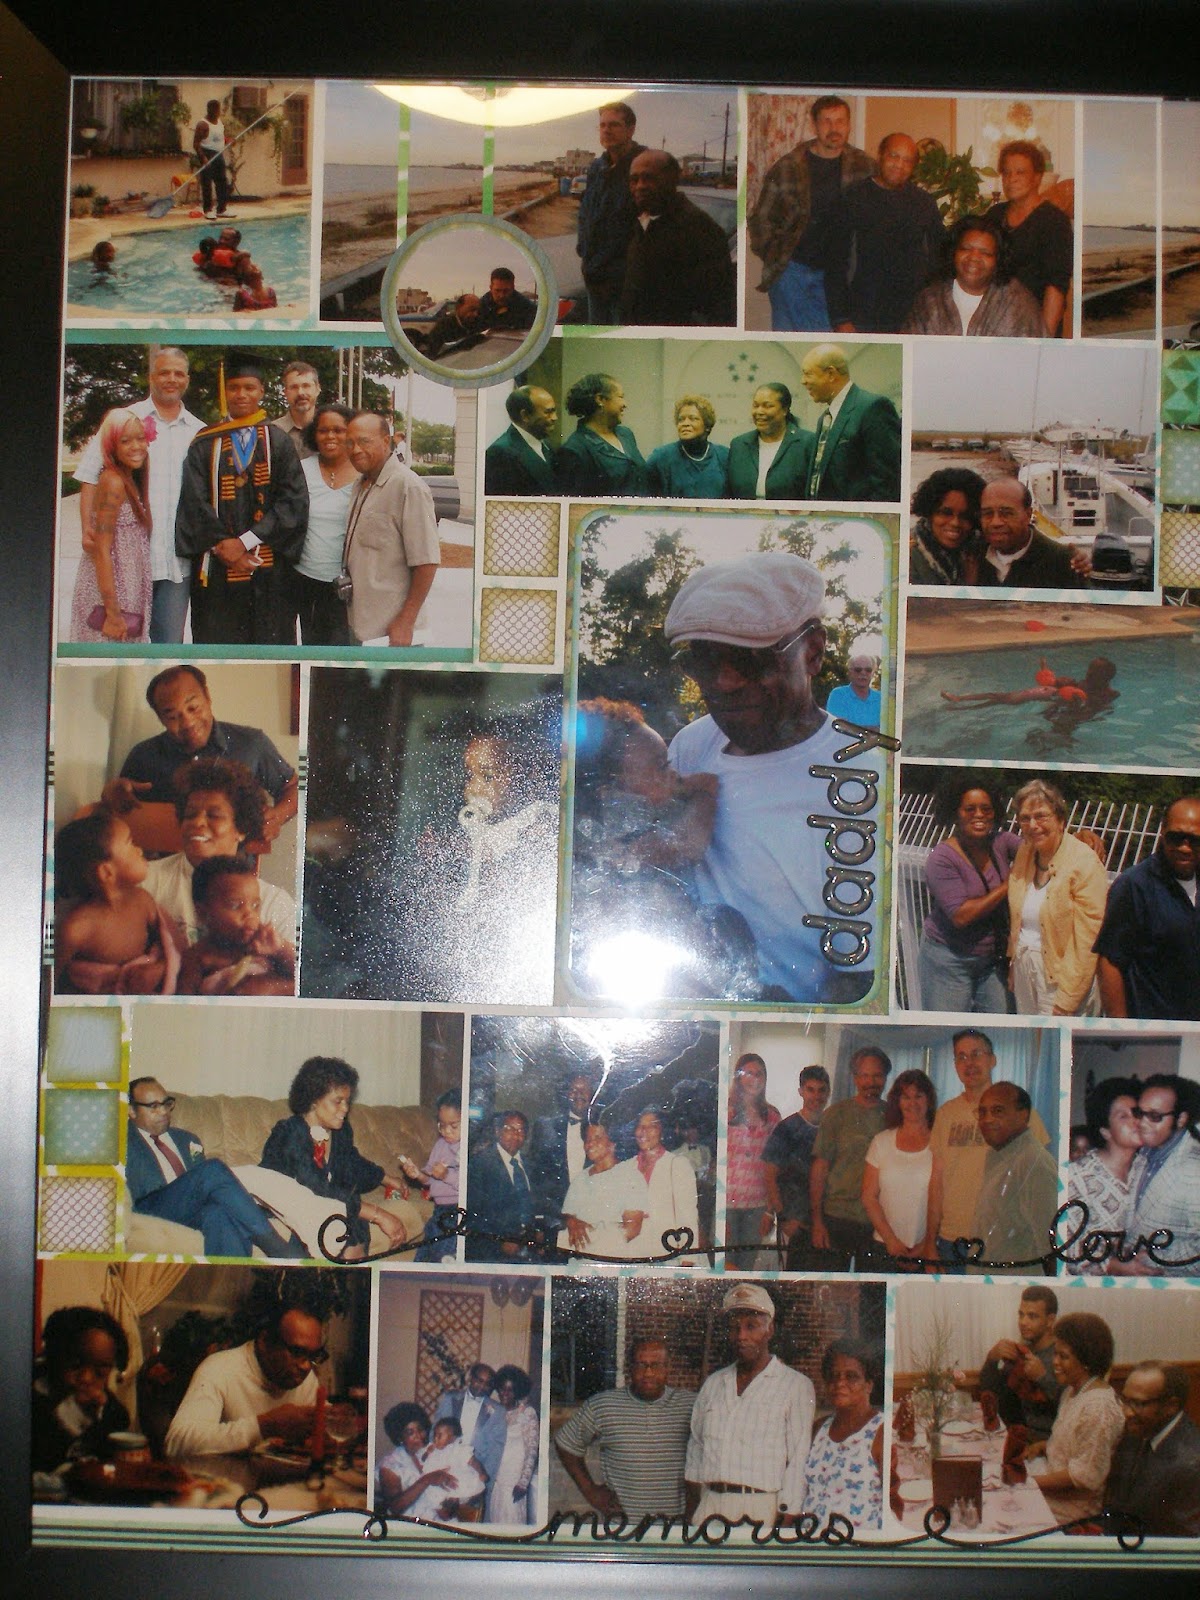

Providing inspiration for displaying treasured memories or creating a treasure
 |
| I used a photo strip in the lower half and Mosaic Moments to complete the upper half. |
Here are some close ups of the embellishments used in this layout.
An epoxy sticker, a Creative Memories (CM) sticker strip, and CM letters on a stamped image of piano keys fill the last two inches of middle photo which was a 4 x4.
 0 0 | ||
| This page uses the horizontal photo strips for the entire page and one section is left for a journal. |
 |
 |
| More about this layout can be found at Geocaching |
 The visual triangle technique (placing three similar items on a single layout to create a triangle) is used on this two page spread by using clusters featuring a stamped flower.
  |
| Embossed flower placed on cut out from patterned paper. |
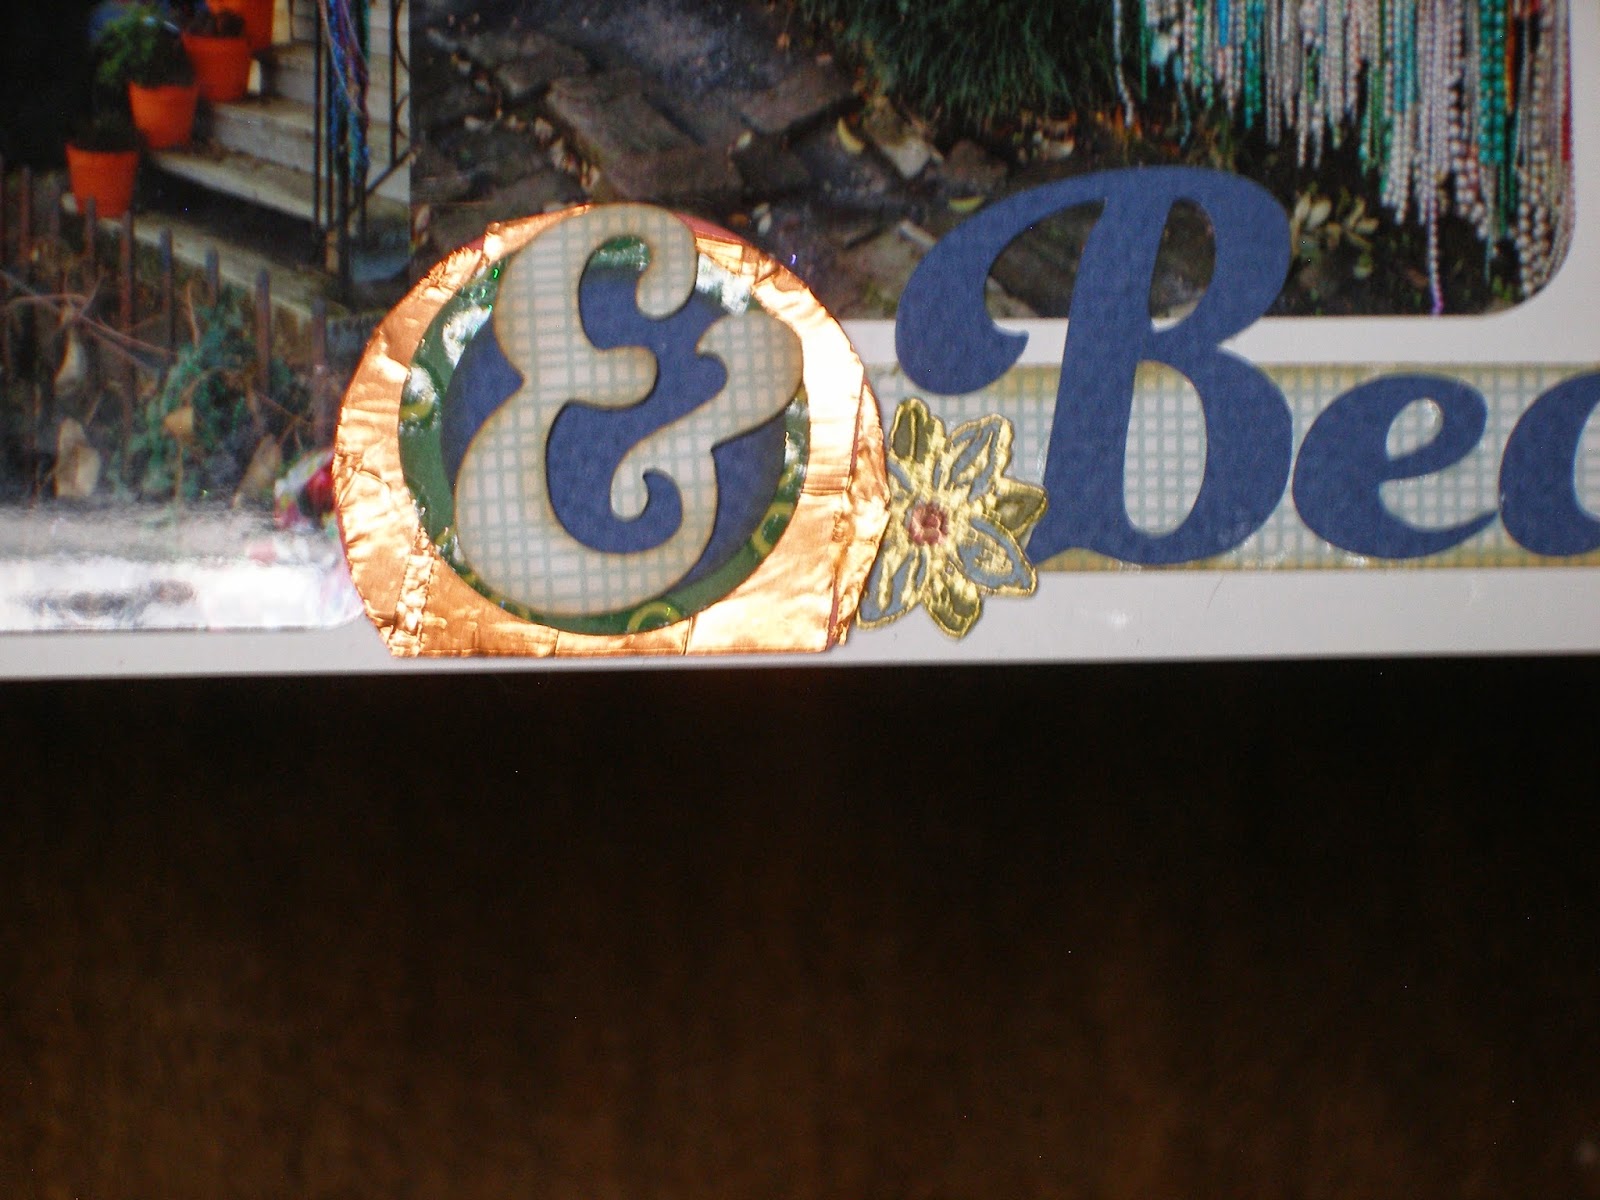 |
| Covered a punched circle with copper tape to add more bling. Flower placed beneath disk. |
 |
| Navy floral punch out with embossed flower and cut out. |
 This spread relies on the rule of thirds, the Mosaic Moments for adding in accent pieces, and the Kiwi Lane design templates for the adding the pattern pattern to a 12x12 white card stock.

 |
| Cluster on first page with five layers of color. |
 |
| Cluster is in the lower right third. |

 |
| Rule of thirds applied primarily vertically on 12x12 paper. As well as horizontally, the upper third has the journal box. |
 |
| Kiwi Lane design templates used to cut scraps of paper which were added as embellishments. |
 |
| A CTMH stamp ("Laughing Lola" set) highlights a scrapbook page. |
 |
| Purple hearts stamped on white card stock. |
| Sheep after mulesing. |

 Because it's too cold to plant outdoors, I'm going to send some pansies in postcards to my friends in the Yahoo! Postcard_xchange group.
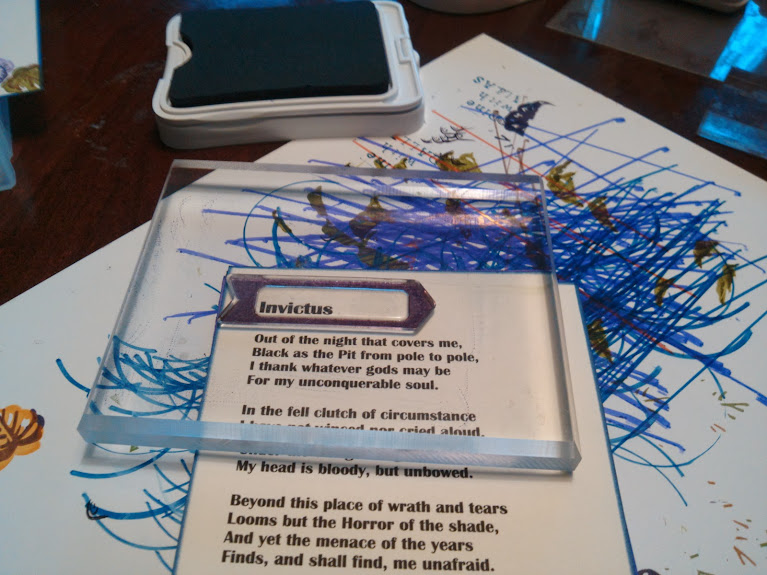 |
| The CTMH clear acrylic stamps make it easy to add a stamped image right where you want it. |
 | ||
| A tool helps when stamping with wood mounted stamps and creating a two-toned image. |
 |
| Image has been stamped twice. |


 |
| A Crop A Dile and a crocheted mesh combine to make a yarn tote. |
 |
| Even tipped over, the yarn stays inside. |


 |
| Swatch tag for Martha Stewart Alpaca Blend yarn |
 Tags are a great tool for storing this information. The tags easily attach to the completed swatch and provide space for adding any other tidbits of information. I used the Cricut Art Philosophy cartridge - Tag 4 - to make the blue tag. It was cut at 3.5" from scrap card stock, rimmed with a deep blue marker then covered with information cut and punched from the yarn band.
  |
| Swatch made with MaggiKnits |


 I have about ten boxes full of photographs spanning about four decades, at least. The photos are safely stored; however, they go unseen. My goal is to get as many photos into protective pages and nicely sorted in an album. The CTMH Picture My Life approach to albums gives me a quick way to reach this goal. It's similar to Project Life, yet it comes with paper inserts which coordinate with the CTMH inks, markers, papers and embellishments.
 After cutting the label and hearts, I stamped them with the coordinating images then lined the edges with a blue marker. I used the marker to ink only the word "love" on the I Love You stamp then stamped the small oval. These items were adhered to the larger label to cover the text "Wild Thing."

